Electric fireplace inserts have earned their place in living rooms, basements, and spare bedrooms for one simple reason: they turn a cold alcove into a usable, comfortable space with minimal fuss. They don’t need a gas line, they don’t vent through a chimney, and they avoid the mess that comes with solid fuel. The question I hear most from homeowners is not whether an electric insert makes sense, but whether to install it themselves or hire a professional. The answer depends less on raw “difficulty” and more on the specifics of your home, the existing fireplace, and your appetite for dealing with the handful of details that separate a clean, reliable install from a mediocre one.
I’ve installed and serviced countless fireplaces of all types, from masonry wood boxes retrofitted with a gas fireplace insert to new construction framed around electric fireplace inserts with custom mantels. The tradeoffs are different for every fuel type. With electric, code concerns are lighter, but the measuring, wiring, and finish work still matter. If you misjudge cavity dimensions by half an inch or push an insert into a crumbling firebox, you’ll wrestle with rattles, gaps, and callbacks. If you plan properly and respect a few nonnegotiables, you can enjoy years of quiet, even heat and realistic flame effects.
What an electric fireplace insert actually is
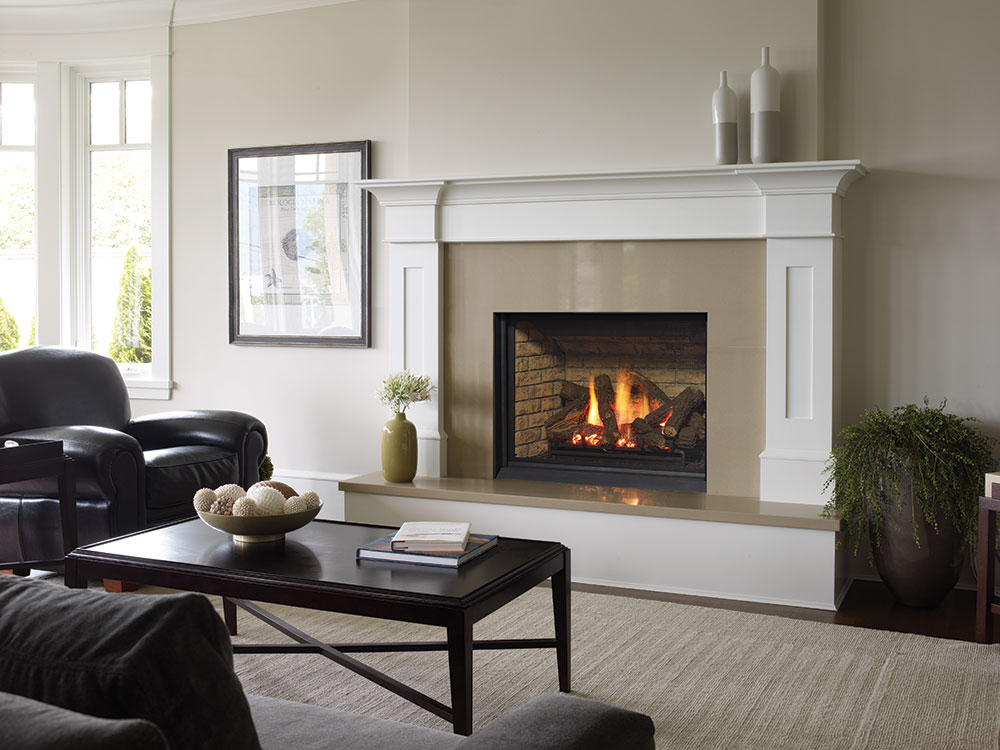
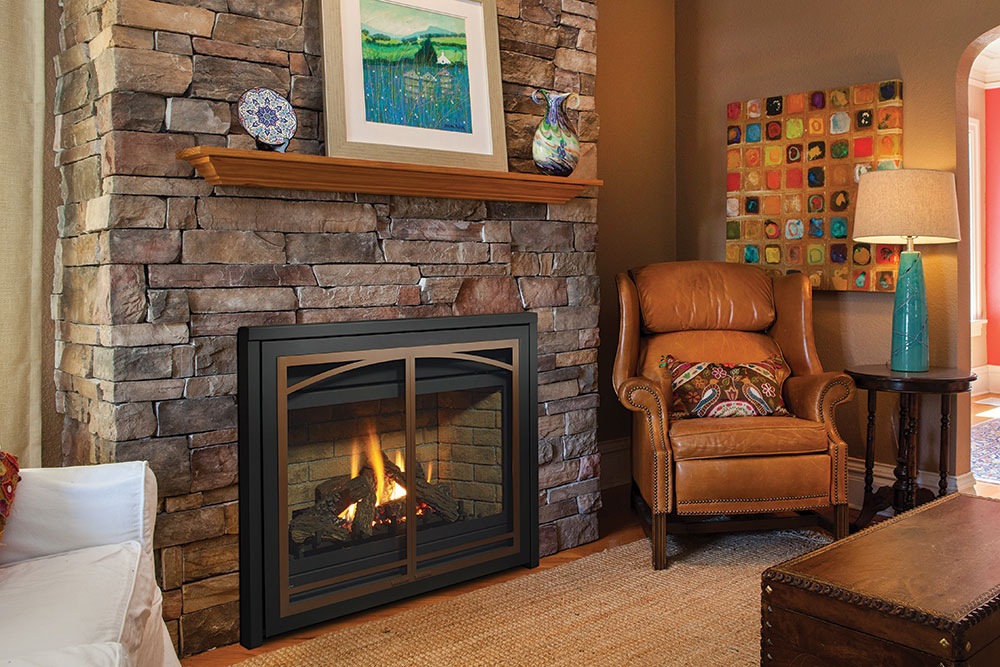
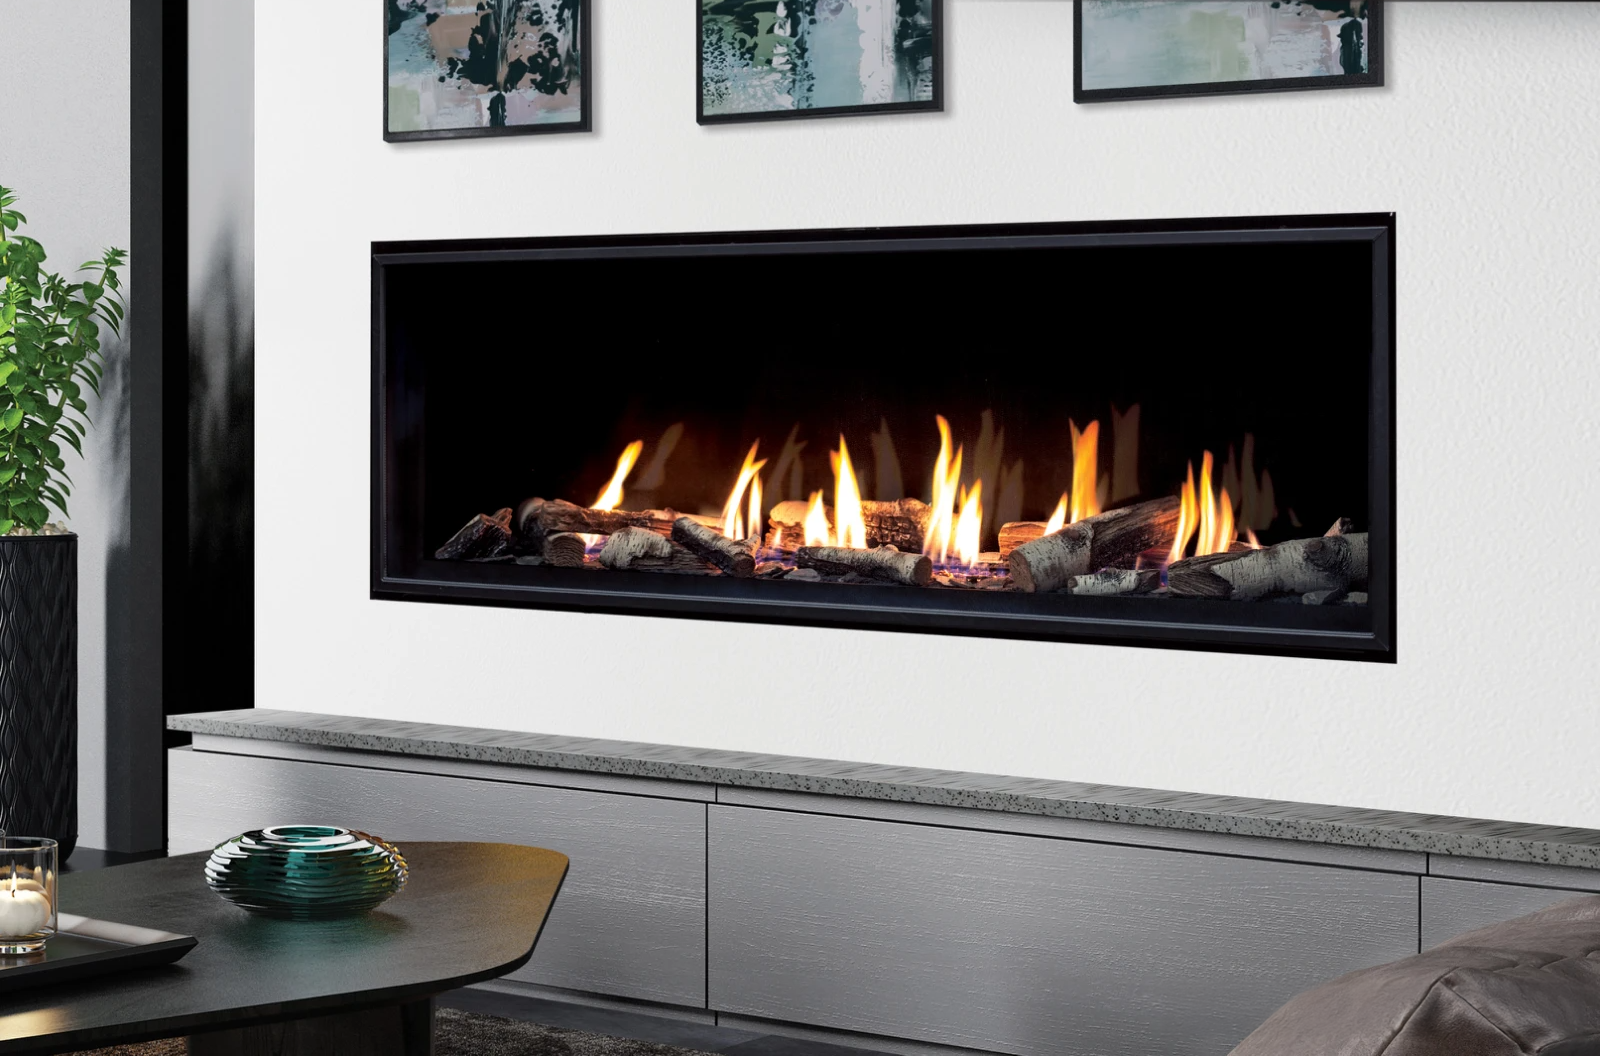
Manufacturers use “insert” generously, and the market adds to the confusion. A true electric fireplace insert is a self-contained heater and flame display designed to slide into an existing cavity, usually a traditional masonry or factory-built wood fireplace. It covers the opening with a trim surround, connects to 120V or 240V power, and vents no combustion byproducts because there is no combustion. That differentiates it from a wall-mounted electric fireplace and from a built-in unit designed to be hard-framed into new construction.
Most electric fireplace inserts produce 4,600 to 5,100 BTU on a standard 120V circuit, roughly equivalent to 1,350 to 1,500 watts. Higher-output models on 240V can reach 8,500 to 10,000 BTU, which can take the edge off a medium room. Output numbers matter less than people think. Electric heat is 100 percent efficient at point of use, but the fan noise, thermostat behavior, and room size match have more impact on comfort than a few hundred BTU.
Where an insert can be dropped into an old wood fireplace, it’s competing directly with gas fireplace inserts. A gas fireplace insert offers more heat and an authentic flame, but requires a gas line, liner venting through the chimney, and a proper termination cap. It also heightens the importance of chimney inspections and a reliable west inspection chimney sweep partner. Electric inserts bypass that entire infrastructure, but they still benefit from the same careful measuring and a safety mindset.
When a DIY installation makes sense
If you own a reasonably square and structurally sound fireplace cavity, can handle simple carpentry adjustments, and have a safe, accessible electrical circuit, DIY is realistic. The heavy lifting is not physical — most electric fireplace inserts weigh 40 to 90 pounds — but in the planning. The units are designed to be as plug-and-play as possible. They come with a surround to cover gaps, a cord and plug, and brackets or tabs to stabilize the box. The manual will list minimum clearances to combustibles, which are usually forgiving compared to gas appliances.
The three skills a DIYer needs are precise measuring, patience with finish work, and the discipline to test the unit thoroughly before committing to a final fit. I’ve seen homeowners produce showroom-level results with nothing more than a tape measure, a vacuum, a stud finder, and a gentle touch with a jigsaw. It helps if you’re comfortable upgrading a receptacle or adding a dedicated circuit for 240V models, but that brings us to the dividing line where a licensed electrician may be required by local code.
When to call a pro and be glad you did
I recommend professional installation when any of the following show up: you have a fragile masonry firebox with loose parging or spalling brick; your existing zero-clearance metal fireplace shows corrosion, warped panels, or unknown brand/label; you want a 240V unit for more heat; you’re planning custom trim, a built-in cabinet, or a new mantle; or the cavity depth and height require fabrication of a filler panel or hearth extension. A professional who does fireplace installation weekly will read these situations fast, prevent a poor fit, and meet code without drama.
There’s also the electrical side. Many inserts are straightforward 120V plug-in appliances, but they still need a properly grounded receptacle and a circuit that won’t nuisance-trip when the heater kicks on along with holiday lights and a vacuum. If you want a clean look with no visible cords, that usually means having an electrician add a recessed outlet https://pastelink.net/9pmvugk3 in the firebox or run a new circuit. For a 240V model, you’ll need a dedicated breaker and correct wire gauge. In my experience, paying an electrician two to three hours of labor is cheaper than the headaches that come from overloading a shared circuit.
Finally, even though electric inserts do not burn fuel or use a flue, it’s smart to involve a local chimney cleaning service if you’re retrofitting into a neglected masonry fireplace. A quick sweep and inspection clears out debris, nests, and soot that can fall onto the insert’s top and create odor or airflow issues. Some homeowners are surprised to hear that a clean chimney still matters for an electric insert. The cavity might be dormant, but gravity still wins. A brief visit from a west inspection chimney sweep can catch crumbling mortar and warn you about hazards like a loose damper plate that could vibrate and hum against the insert shell.
How to size and select the right electric insert
Sizing an electric fireplace insert is more about the cavity than the room. Measure the height, width, and depth of the firebox at multiple points: back, middle, and front. Old masonry fireplaces are rarely square, and factory-built boxes often taper. Note the lintel height, any protruding hardware, and whether the hearth is level. If you’re within a quarter inch of a spec, assume you’re undersized and allow extra clearance. Tight fits transmit fan vibration into the masonry or metal shell, and that’s where hums come from.
I like inserts with adjustable trim surrounds, quiet multi-speed fans, and thermostats that don’t overshoot by five degrees. If the room is large or semi-open, a 240V model is worth a look, especially in colder climates. Remember that realistic flames are a function of LED quality, reflection media, and glass treatment. Visit a showroom if you can and compare flame effects with the heater off and on. Some units sound great on paper but reveal a persistent fan whine that will irritate you on a quiet night.
If you’re comparing across fuel types, match expectations. Gas fireplaces and gas fireplace inserts provide more heat and a real flame. They also bring more maintenance, including annual chimney inspections and vent servicing. Electric fireplace inserts win on simplicity, ease of installation, and low operating hassle. In mixed-fuel homes, I often steer clients to a gas fireplace in the main living space and an electric unit in the basement or bedroom where silent, zone-friendly heat matters and venting would complicate the layout.
The real prep work most people skip
Before you order, stick your head and a flashlight inside the firebox. Look for loose mortar, flaking rust in a metal box, and evidence of moisture ingress. If you see white efflorescence or dampness, figure out the source. An electric insert won’t fix a water problem, and moisture will reduce the life of the electronics. Check the damper. If it’s removable, take it out. If not, secure it in the open or closed position based on the manufacturer’s guidance, but in either case make sure it won’t rattle against the insert. If your chimney cap is missing, have one installed. Even with an electric insert, you don’t want rain and critters finding their way down.
If you plan to plug into an existing hearth-level outlet, test it with a plug-in tester and a hair dryer. Turn on the hair dryer and run other appliances on that circuit to see if it trips. That crude test tells you more than a spec sheet. For a clean look, many homeowners prefer a new receptacle set inside the firebox or adjacent wall. This is where an electrician earns the fee: proper box, wire gauge, GFCI or AFCI where required by local code, and a tight, safe installation with no visible cords.
Step-by-step overview for a DIY installation
- Confirm dimensions and clearances: measure the cavity at several points, compare to the manufacturer’s required minimum and recommended tolerances, and verify that the trim surround will cover any gaps without impeding airflow. Prepare the cavity: vacuum out ash and debris, remove loose mortar or metal fragments, check the damper, and wipe down surfaces so dust doesn’t find its way into fans and heaters. Plan power: test the circuit for load capacity, add or relocate a receptacle if needed, and make sure the plug will not be pinched by the insert or trim. Dry fit: slide the unit in without the surround, confirm it sits level and straight, listen for rattles, and verify that the cord and controls are accessible for service. Finalize fit and finish: attach brackets or stabilizers, install the surround and glass, plug in, and run the heater and flame modes through a full cycle to verify quiet operation and thermostat function.
Even if you hire a pro, this sequence is helpful. It keeps the work predictable and gives you a framework to review with the installer before they begin.
Electrical realities you can’t ignore
Manufacturers design most electric fireplace inserts for 120V circuits to simplify installation. At 1,500 watts, expect around 12.5 amps of draw. That’s a meaningful load, especially on older homes with multi-use living room circuits. If you have a home office with a laser printer on the same branch, or holiday lighting plugged into a chain of power strips, the heater may reveal weaknesses. Thermal breakers trip more often in winter, when the ambient temperature is low and minor voltage drops under load increase current draw. If nuisance trips occur, a dedicated circuit is the most reliable fix.
For 240V units, the conversation changes. These models deliver more heat, but the wiring is no longer a casual plug-and-play decision. You’ll need the correct breaker size, cable, receptacle, and, in many jurisdictions, a permit and inspection. It’s still simpler than venting a gas fireplace, but treat the electrical work with the same seriousness you would a new range or dryer circuit.
Cord management matters for both safety and aesthetics. Never run the power cord under the insert where it can be pinched or cooked by heater exhaust. Don’t coil excess cord length behind a hot area. If the only logical route puts the cord in a squeeze, add a recessed outlet at the back of the firebox or at the side wall. Pros do this routinely, and it transforms the finished look.
Heat, noise, and real comfort
Heat distribution from electric fireplace inserts is gentle. You’ll feel warmth within a few feet, and the fan will push air across the room, but you should not expect whole-house heat. Treat the unit as a zone heater. If you want all-day use, pay attention to fan noise. A three-speed fan on low can be almost silent, while high may mask television dialogue. Good units manage fan speed relative to setpoint so the fan relaxes once the room approaches target temperature.
One quirk worth noting: many inserts allow the flame effect to run without heat. It’s a nice feature in shoulder seasons. On heat mode, some models introduce a mild plastic or paint odor during the first few hours. This off-gassing should be brief. If it persists, remove the surround, vacuum dust from the intake and heater element area, and check for packaging debris left inside. If you smell a strong electrical odor or see discoloration at the cord or plug, cut power and address the electrical supply.
Safety is quieter but still present
Electric inserts avoid combustion, carbon monoxide, and the need for a flue, which is a relief for anyone who has dealt with spillage alarms or downdrafts on windy nights. They still produce heat, and the glass can get hot. If you have children or pets, choose a model with a cool-touch glass or a protective screen. Keep combustibles like drapes and holiday garlands outside the manufacturer’s clearance zone. Don’t store firewood in the old log rack for aesthetics, then drape stockings within a foot of the heater outlet. Common sense and the manual go a long way.
If you’re repurposing an old fireplace, give the structure some respect. Brittle hearth tiles can crack under the concentrated weight and vibration of a new insert. Loose firebrick can fall into fans. A quick visit from a chimney cleaning service or a mason can stabilize the cavity, point up missing mortar, and caulk hairline gaps that whistle in a winter wind. Even though the insert doesn’t use the flue, that flue still connects your living space to the outdoors. A proper top-sealing damper or cap reduces drafts and keeps the insert cleaner.
Working with a professional installer
A good fireplace installer starts with questions: how do you plan to use the insert, how big is the room, do you want to see the flame without heat, what’s your tolerance for fan noise. They’ll inspect the cavity, take their own measurements, and peek up the flue. They’ll talk about power, trim, and how the surround will meet your mantle and hearth. If you hear only a flat price without a site visit, keep shopping.
Expect the pro to coordinate with an electrician if needed. For a 240V unit, that relationship is essential. If your home has other fireplaces, especially gas fireplaces, ask the installer to look them over while they’re there. Many shops handle both electric and gas, along with chimney inspections. A west inspection chimney sweep can handle the flue and structure while the installer handles the insert and trim, which saves you time and reduces finger pointing if noise or drafts crop up later.
As for cost, a typical electric insert install runs from a few hundred dollars for a simple slide-in and plug to several thousand when you add electrical work, a new mantle, drywall, and paint. The unit itself may range from a few hundred to several thousand depending on size, flame realism, and output. If you’re turning a never-used living room fireplace into a daily comfort feature, the upgrade often includes built-ins or a media wall. Those millwork costs dwarf the insert price and make professional coordination worth it.
Comparing electric to gas fireplace inserts
I often see clients debate electric versus gas fireplace insert for a single focal point room. Gas wins on raw output and ambiance, particularly with a good burner, non-symmetrical logs, and proper ember bed. If you want primary heat in a cold-climate living room, gas is tough to beat. The tradeoffs are the gas line, venting, clearances, and maintenance. Gas fireplace inserts need a proper liner system up the chimney and annual servicing. You’ll want a chimney inspection as part of the job and periodic checkups.
Electric fireplace inserts win on simplicity, installation speed, and flexibility. You can place them in bedrooms and basements that lack good venting routes. They’re safe in tight envelopes where combustion air supply would be a concern for gas fireplaces. Operating cost depends on electricity rates. In many regions, running the heater for a few hours in the evening is cheaper than turning up the whole-house system. In others, natural gas is cheaper per BTU and gas fireplaces feel more economical for sustained heat. This is where a frank look at your utility rates and usage habits matters more than generic claims.
Maintenance and long-term reliability
There is no soot to clean, and there are no burners to tune. Maintenance for electric fireplace inserts boils down to dust control, the occasional replacement of a fan or control board after many years, and keeping the glass clean to maintain the illusion. Vacuum the intake grille every few months if you use the heater regularly. If the fan starts to rattle, remove the surround and check for foreign objects or warped mounting tabs. Most modern units have modular parts and clear service manuals. If you’re not comfortable opening the case, an installer or electrician can do it quickly.
If the insert sits in a real fireplace cavity, keep that chimney capped and the damper situation stable. A neglected cap will invite moisture that shortens the life of electronics and encourages rust. If you still burn wood in another fireplace or have gas fireplaces elsewhere, keep up with chimney inspections. Good shops bundle services, and it’s easier to schedule one annual visit than to scramble when a cold snap reveals a draft or an unexpected noise.
A few real-world scenarios
A client in a 1950s brick ranch had a classic shallow firebox with a sagging damper and a floor outlet that was part of an overloaded circuit feeding half the living room. They wanted a wide, modern flame look. We pulled the damper, vacuumed the cavity, and had an electrician add a recessed outlet on a new 15-amp circuit. The insert slid in with a custom metal filler panel at the top to handle a half-inch height mismatch. Total time on site: four hours for the insert and trim, three for electrical. They run the flame all day and the heat for a couple hours each evening without tripping breakers.
Another homeowner tried to DIY a 240V insert in a basement family room and discovered the house had no spare panel capacity. They paused and called us. We added a subpanel, ran a new 240V circuit, and adjusted the mantle projection to meet clearance requirements. It cost more than they anticipated but less than redoing a failed DIY. Their take: they were glad they did the demo and prep but happier to let a pro handle the electrical and code compliance.
Finally, a condo owner wanted an insert in a metal zero-clearance box from the 1980s with warped side panels. That box wasn’t safe for a gas upgrade, and the structure hummed whenever a mechanical fan ran. We lined the cavity edges with vibration-damping gasket material, secured loose panels with manufacturer-approved fasteners, and used an insert with a particularly quiet fan. The difference between a tolerable and a pleasurable result came down to those little details you won’t find in marketing copy.
Making the call: DIY or pro?
If your fireplace cavity is clean and sound, your dimensions line up comfortably with the insert’s spec, and your electrical supply is straightforward, DIY can yield a tidy weekend project with a satisfying payoff. Read the manual twice, stage all parts before you start, and resist the urge to force a snug fit. If you find yourself stretching any requirement, that’s your cue to stop and call for help.
If your situation involves electrical upgrades, structural uncertainty, a desire for built-in cabinetry, or just unfamiliar territory, hire a professional. They will deliver better trim alignment, quieter operation, and code-compliant power in fewer hours than you might spend deciphering a dozen “almost” solutions. You’ll also have a point of contact if something hums, rattles, or trips a breaker in a January cold snap.
Electric fireplace inserts shine because they are approachable. They let you reclaim a room corner with warmth and light without tearing open walls for venting or scheduling gas utility visits. Decide honestly where your comfort ends — measuring and vacuuming, or wiring and fabrication — and match the approach to that line. With either path, you’ll end up with a space that people actually use. And if your home still runs wood or gas elsewhere, keep a good chimney cleaning service in your contacts. A skilled installer and a reliable sweep make every fireplace, electric or otherwise, feel better and last longer.